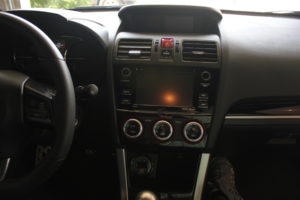
Have been slowly replacing interior pieces with Piano Black OEM pieces or custom Piano Black vinyl wrap. So far I have the air vents swapped out for piano black ones, new HVAC Piano Black buttons, replaced the dash trim with OEM piano black items and went with a piano black Cobb AccessPort cover.
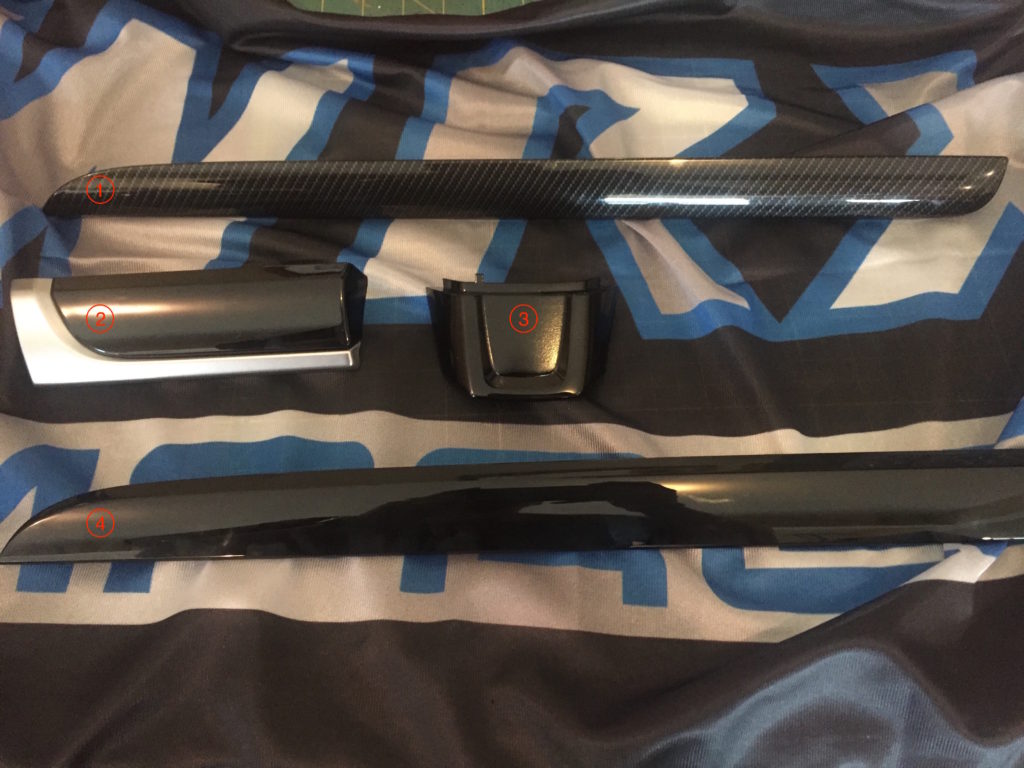
The above picture is annotated.
- This is the factory supplied faux carbon fiber piece. Let’s be honest…it looks like shit. The other side is just flat gray plastic that didn’t have to suffer through the humiliation of being hydro-dipped like the cartoons from Who Framed Roger Rabbit.
- This is the new trim piece (http://www.subispeed.com/subaru-oem-silver-and-piano-black-dash-trim-2015-wrx-2015-sti#.V7nc91dzQUE). I thought it was going to be the exact same piece as #1, but it has a silver trim. I was worried it wouldn’t look good, but i think it looks great.
- This is a part I was very excited about, but ended up being slightly underwhelmed with it (part #34342G, I believe). Something about it is just boring once installed.
- This is the passenger side version of #2. I removed the silver trim hoping I could install it without the trim, but you can’t. Take my word for it.
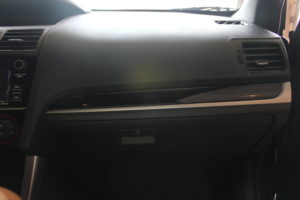
Here is how it turned out on the passenger side.
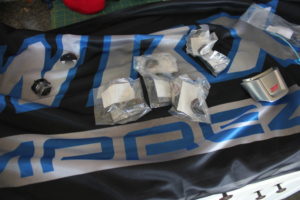
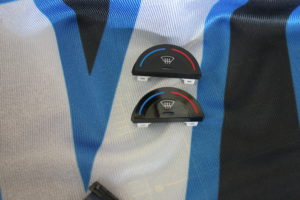
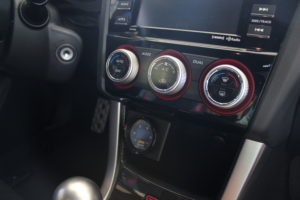
I also installed new HVAC control buttons (http://www.subispeed.com/subaru-dual-climate-piano-black-knob-filler-panels-2015-wrx-2015-sti#.V7nc_VdzQUE). I think they look good. They are Subaru OEM pieces, and came incredibly wrapped up.
Very easy to take off. You just pull on the fake chrome ring to gain access. Then you pull once again on the button, and it comes out in an almost sleeve.
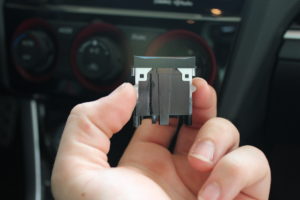
There are three tabs you remove on each of the six. I did them one at a time so I didn’t mix anything up.
Hi,
Informative post, thanks.
With that said, what was the process for removing/replacing item 3 (34342G)?
Thanks,
Chris
Nevermind, found videos on YouTube.
You probably found the same one I used, but I did a small paddle bit and drilled behind the plastic cover on the back of the steering wheel behind that piece. Then I unscrewed the one screw holding in the cover cap, and did the reverse to put the new one in. You’ll have a small hole in the back of the steering wheel, but if that bothers you, you can find a cap from a hardware store to put in the hole and cover it up.