All posts by bhickey333

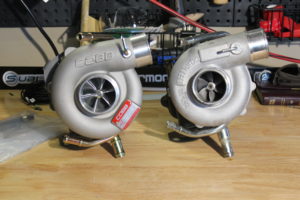
New Turbo!

Christmas time is always a wonderful time of year. You can practically feel the spirit of the season in the air as you wander around town. If you have children, you know that Christmas takes on a different tone. You want to make sure they have everything they asked for while keeping the expenses somewhat in check. I believe my wife and I got everything that was on the list this year, and my children were as excited as I have ever seen them. Finally Christmas morning came, and as I sat and watched them open up their gifts, I couldn’t help but think about how awesome it’d be to have more horsepower.

Yep… while most people dream about the Sugar Plum Fairy (what the HELL is that? Is that like Krampus?), I think of all wheel drive fun directed at lowering my bank account as much as possible. I’m sure my grandfather who lived through the Great Depression would totally give me a high five for my financial responsibility.

It really was down to the Cobb 20g and the Blouch Dom 1.5.

The Dom 1.5 was my original upgrade plan, but I don’t think the stock block would have lasted long. From what I read, and depending on the dyno and fuel, you are talking about anywhere from 350-450whp. I wanted the car to still be reliable, so I decided on the Cobb 20g. I saw a lot of good things about 20g turbos, and I honestly love Cobb’s products. I figured it’d be a straight up bolt on with zero fabrication required. I’m playing with fire on the stock block, but by running the Cobb 20g, it’s like I have a fire retardant layer on in contrast to the dom 1.5 where it would have been like dousing myself in kerosene and juggling candles. Wait… that sounds kind of cool…

Now keep in mind, I didn’t just upgrade my turbo and call it a day. The plan to eventually get a new turbo has been in the works since I purchased this fine, plasticy Japanese beauty. Since it was in the plan all along, everything I have done was done so I could run the upgraded turbo effectively and efficiently. I just cut the part about waiting five years out of the plan because it took up too much space.

Mods done in preparation for the turbo:
Fuel upgrades (injectors, pump, FPR, going to include Flex Fuel here as well)
External Wastegate
Uppipe
Downpipe
Upgraded TMIC
Volk wheels (because you can’t run an upgraded turbo on stock wheels bro)

I also picked up a radiator just in case the car was running hotter than I wanted due to the increased temps from the turbo upgrade.

The install:
It really wasn’t that bad.

If I were to rate it on a scale of 1-10, 1 being

and 10 being

it was a 5.5.

To install, you have to take stuff off of the car. If you are against that, you’re probably doing it wrong.

1. Remove the Top Mount Intercooler
2. Remove the heatshield
3. Break the downpipe bolts and remove downpipe/midpipe. Exhaust can hang out. Haha. ’cause it’s hanging on hangers. I get it.

You should have a good little pile going now:
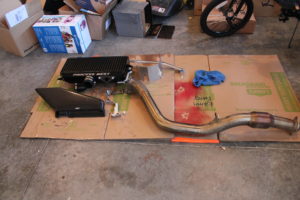
4. break the turbo mount bolts connecting it to the up pipe
5. disconnect the lines running to the turbo: oil feed line, coolant line, coolant return etc. I found that capping the rubber hose ends with Double A batteries worked pretty well and then I put some tape over them. If you are quick enough, you won’t loose much coolant and won’t have to replace as much at the end.
6. Remove that wimpy turbo from the up pipe
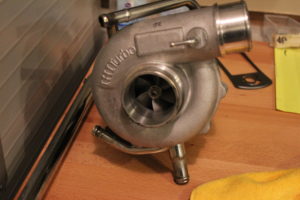
At this point we have a car without any magical power to propel itself (at least not safely).

7. Transfer the bolts from the old turbo to the new one (if applicable)
8. I am running an external wastegate, so I needed to close the internal wastegate. I used the Grimmspeed ewg bracket and it has worked so far.
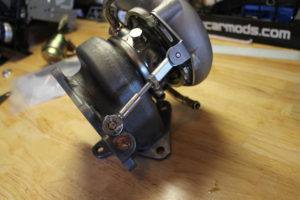
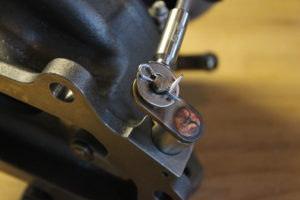
9. THIS IS THE BIGGEST PAIN IN THE ASS PART OF THE ENTIRE INSTALL. I WILL NOT SELL IT SHORT!
You have to put the turbo back on the mount, while lining up the return line on the bottom, clamp it, and also somehow magically get the inlet pipe to go around the turbo inlet. It sucked. BADLY. I used a boat load of lube spray to get that thing on, and it was a PITA!
10. Sober up a little after drinking yourself into a good buzz trying to get all of those things to line up right and not break your new turbo
11. Bolt everything up to spec
12. Connect your lines back
13. Connect the downpipe and mid pipe back to the exhaust
14. Replace the heatshield
15. Replace the TMIC
16. Prime the turbo- What I did was remove the fuel pump fuse in the engine bay and I tried to start the car by turning the key for 10 seconds, waited 10 seconds and repeated 7ish times. The idea is to get oiling that new turbo so it doesn’t start up at a bajillion rpms dry and ruin it.
17. Replace the fuel pump fuse and fire her up.
18. If you got some coolant on the engine bay you’ll see some smoke (whitish vapor) and smell an almost sweet smell). This is normal.
19. Check for leaks.
20. Get it tuned.

I’ll get some videos of quick pulls to show off. It’s been a blast so far and nothing has blown up yet so that’s good.
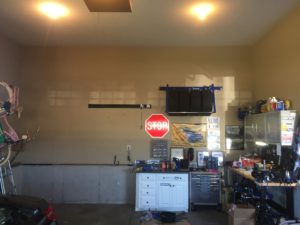
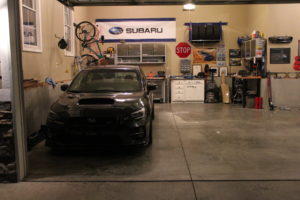
Clean Garage means Car Upgrades

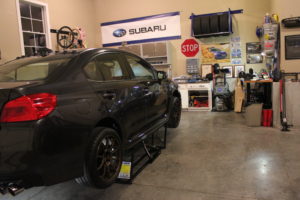
Went to Sam’s Club and purchased some new cabinets a few months back and spent some time organizing the garage. The wife and children are trying to find ways to sabotage the cleanliness of it, but so far only the trash from celebrating the birth of Christ with gifts to tiny humans has managed to infiltrate the space.

I’m glad the concrete dried or the new cabinets might have messed up the cement graves of the last family who messed with my garage.
let me out. Let Me Out. LET ME OUT!

Picked up a QuickJack a few months back and that thing has been awesome. Made a lot of pain in the ass endeavors not so bad.

The QuickJack makes it a breeze to get the car up off the ground and get underneath it. The first thing I did was change my oil, and while I had it off the ground, I used an old trick from back when I had a BMW M roadster. That car was made in the early 2000s so it had a lot of orange turn signal indicators. My 2016 STI does up front, so I took out the bulbs, hit them lightly with some silver metallic spray paint, let them dry, and put them back in. The trick is to LIGHTLY coat them. Too much paint and the orange bulb won’t light up orange anymore. Do it just right, and the bulb will still light up orange when illuminated.

Before and After if you needed a caption.

Front end looks a lot better without the amber bulbs on display.

Since it is so easy to jack the car up now, I purchased a few other items to be installed underneath the car.

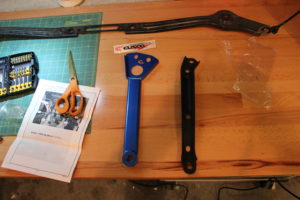
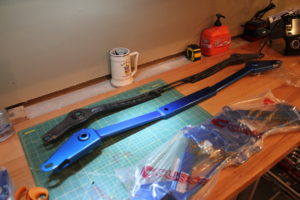
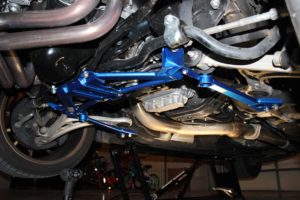
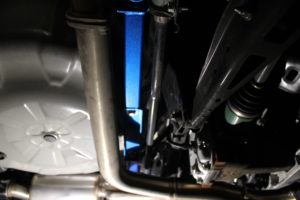
First thing was some undercarriage stiffening (insert joke here) from Cusco. Honestly… I think this is probably eye candy that no one can even eye without it being off the ground. I don’t feel much, but you can tell that the Cusco pieces are much more sturdy and stiffer than the older, less stiff ones.

Some pics of them installed:

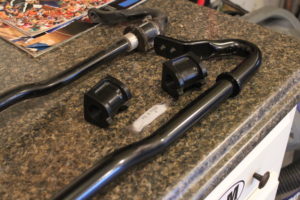
Just to add to the getting stiffer motif, installed a RCE rear sway bar. This one has a girth of 24mm and I set the bar to hard, so it’s not giving giving up much flex and I can definitely feel the difference. Car handles much more aggressive now, and I love it. I have a front sway bar from RCE I’ve not installed yet.

RCE is so mohr better.

I’ve got another project I’m starting up soon. Hope to being the installing tonight and get some videos/pics up of it.

Subaru OEM Piano Black Interior Upgrades

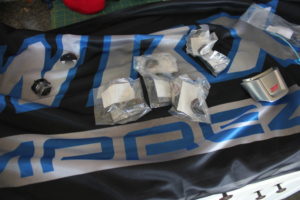
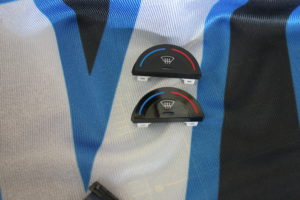
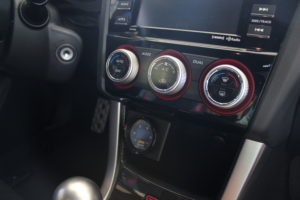
Have  been slowly replacing interior pieces with Piano Black OEM pieces or custom Piano Black vinyl wrap.  So far I have the air vents swapped out for piano black ones, new HVAC Piano Black buttons, replaced the dash trim with OEM piano black items and went with a piano black Cobb AccessPort cover.

Gotta catch em all!
Gotta catch em all!

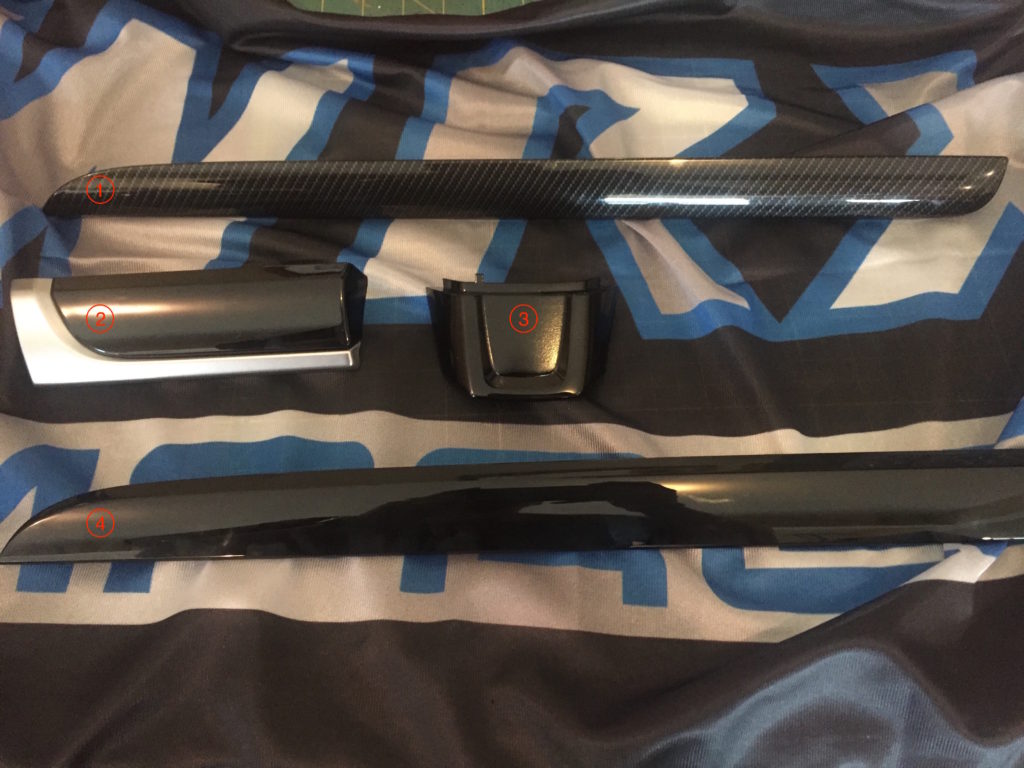
The above picture is annotated.

  1.  This is the factory supplied faux carbon fiber piece.  Let’s be honest…it looks like shit.  The other side is just flat gray plastic that didn’t have to suffer through the humiliation of being hydro-dipped like the cartoons from Who Framed Roger Rabbit.
  2. This is the new trim piece (http://www.subispeed.com/subaru-oem-silver-and-piano-black-dash-trim-2015-wrx-2015-sti#.V7nc91dzQUE).  I thought it was going to be the exact same piece as #1, but it has a silver trim.  I was worried it wouldn’t look good, but i think it looks great.
  3.  This is a part I was very excited about, but ended up being slightly underwhelmed with it (part #34342G, I believe).  Something about it is just boring once installed.
  4. This is the passenger side version of #2.  I removed the silver trim hoping I could install it without the trim, but you can’t.  Take my word for it.

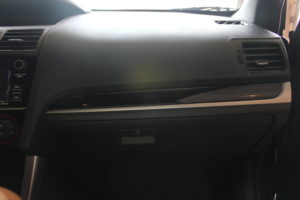
Here is how it turned out on the passenger side.

IMG_6841
Feels so fresh so clean.

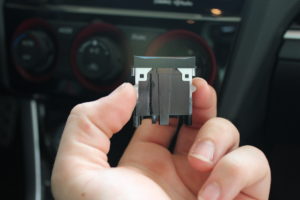
I also installed new HVAC control buttons (http://www.subispeed.com/subaru-dual-climate-piano-black-knob-filler-panels-2015-wrx-2015-sti#.V7nc_VdzQUE).  I think they look good.  They are Subaru OEM pieces, and came incredibly wrapped up.

IMG_6847

Very easy to take off.  You just pull on the fake chrome ring to gain access.  Then you pull once again on the button, and it comes out in an almost sleeve.

IMG_6846
Looks like an elephant. Just pop the eyes.

There are three tabs you remove on each of the six.  I did them one at a time so I didn’t mix anything up.

Started at the top and then the bottom.
IMG_6853
All that shine. Looks so sassy.
Num num.
Num num.

DRL & S4 Foglights

Did a longer video but need to edit it.  In the mean time, enjoy this wonderful GIF.  Everything was pretty smooth, but I am not a fan of the different colors of light coming out the front of the STI now.  Just like going into someone’s house who has 15 different types of bulbs in their kitchen.  Just pick one damn style of bulb.  You don’t need three incandescent bulbs and six LED bulbs jackass.  Aside from the colors, easy install.  OEM fitment since,l you know, OEM.  Subispeed’s harness worked well also (only took them three weeks to get it to me)…

http://i651.photobucket.com/albums/uu231/bhickey333/2016%20WRX%20STI/www.GIFCreator.me_c76ZQU_zpsl2uavarn.gif

If you are reading this…

Then you are a fairly bored individual who probably likes Subarus and happened to Google Subaru WRX STI and found your way to this site.  Lucky you…  Well hopefully you can find this site entertaining enough.  I will try to post up how-tos, automobile related information, and most importantly, a massive boat load of pictures.  So many pictures that your brain’s storage will reach its limit and you will need to get a cloud account to process all of the information.  What’s that?  No, no pictures on the first post.  This is all business.